This is a guest post from Roman Kuchařík - the co-founder of tapaya., a Prague-based startup building software-only SoftPOS infrastructure that turns any mobile device into a secure payment terminal.
…
Every team building a POS app eventually runs into the same problem: accepting in-person card payments.
You can have a working product, merchants ready to test, and a clear roadmap, but the moment you add payments, things become significantly more complicated. Suddenly you are dealing with PCI requirements, EMV certifications, acquirer relationships, hardware dependencies, and long development cycles before anything is production ready.
At Tapaya, we believe this process should be much simpler.
So we decided to test how quickly we could build a real Expo-based POS application and add in-store card payments using our own SDK.
The result: from idea to first approved payment took less than an afternoon!
This post explains:
- what inspired the app
- what we built
- and exactly how we integrated card payments into an Expo app
What inspired the app idea?
The original idea was simple.
We wanted to build a lightweight POS system for one of our favorite local coffee shops, something fast, minimal, and easy to use on a regular phone instead of traditional payment hardware.
Most small merchants do not want to manage separate terminals, cables, charging docks, and multiple systems just to accept payments. They want a single device that can:
- manage products
- handle transactions
- onboard merchants
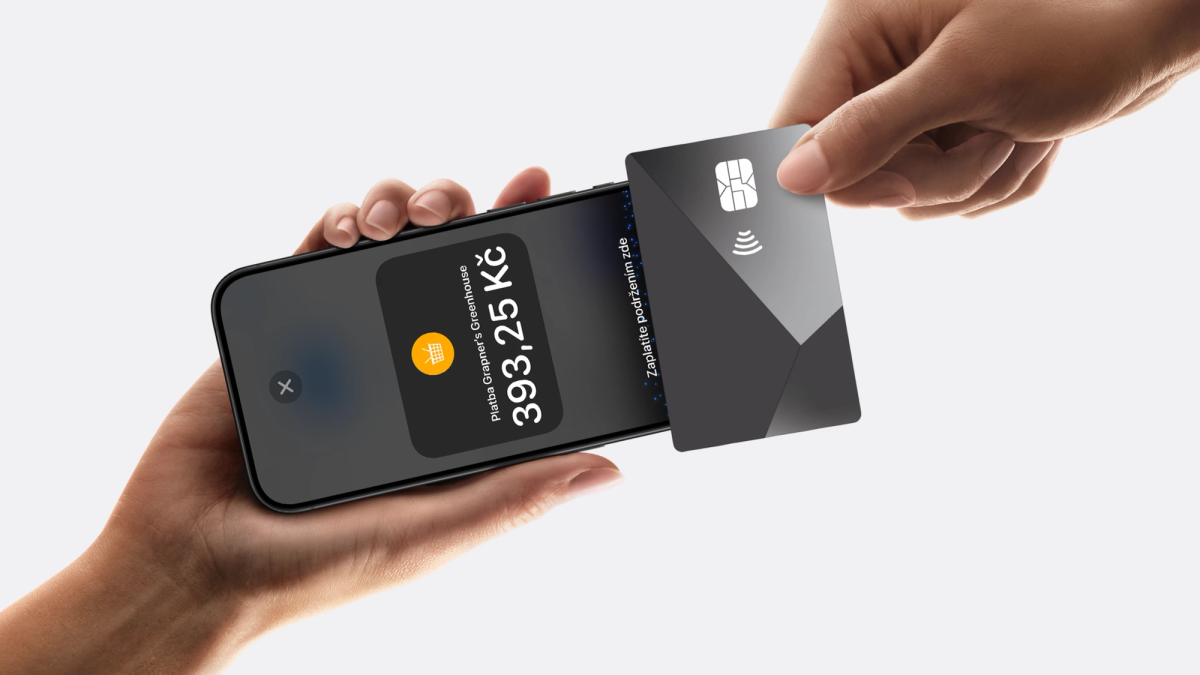
- accept tap to pay card payments instantly
We also wanted to test a broader question internally:
Could a developer build a production ready SoftPOS experience in Expo without spending months on payment infrastructure?
That became the experiment. And we had an incredible opportunity to take on this experiment at a Hackathon in Prague hosted by STRV and Expo!
What app did we build?
We built a simple cross platform POS application using Expo.
The app included:
- a product inventory screen
- a checkout flow
- transaction history
- merchant onboarding (KYB)
- in-person tap to pay card acceptance
The goal was not to build a complex enterprise POS system. The goal was to create a clean functional prototype that demonstrated how quickly modern payment infrastructure can be integrated into a React Native application.
By the end of the afternoon, the app could:
- onboard a merchant
- authenticate with the Tapaya platform
- accept contactless card payments
- process approved sandbox transactions directly on an NFC enabled iPhone or Android device
No external payment terminal required.
Why we chose Expo
Before building the app, we evaluated several frameworks and workflows. We ultimately chose Expo because it dramatically simplified the native mobile setup required for payments.
Expo Config Plugins simplified Native SDK setup
By adding a single config plugin to app.json and running expo prebuild, the native iOS and Android bindings were generated automatically.
No manual Swift or Kotlin setup was required.
EAS Build simplified iOS Tap to Pay entitlements
Setting up Apple Tap to Pay manually can become complicated quickly. Expo’s Services handled much of the provisioning and entitlement workflow for us.
EAS Update improved iteration speed
We could push UI and logic updates rapidly without repeatedly waiting for App Store review cycles during testing.
Expo Router accelerated development
We built screens for:
- Sales
- Transactions
- KYB onboarding
- Settings
The process required very little boilerplate.
Tapaya’s SDK was built for Expo
The integration worked exactly as expected with Expo’s config plugin system, which made the setup surprisingly smooth.
Here’s how we built the app:
We started by building the core POS interface in Expo during the morning:
- simple inventory management
- checkout screen
- transaction handling
Once the UI flow was working, we moved on to adding in-person payments.
To speed up development, we provided an AI coding agent with:
- our desired payment flow
- the Tapaya Quick Start documentation
- the integration goals for the POS experience
After running expo prebuild, deploying to a physical device, and tapping a payment card, we received our first approved transaction.
From signup to successful sandbox payment, the full integration took roughly 30 minutes.
This is what the integration process looked like:
1. Add the Config Plugin
2. Install the SDK and generate Native code
3. Set up your backend
Before the mobile app can authenticate with the SDK, your backend must generate a short lived login token for each merchant.
The flow works like this:
- The mobile app calls your backend
- Your backend calls the Tapaya API using your Server Secret Token
- Your backend returns a temporary login token to the mobile app
Your Server Secret Token should never be exposed to the client.
Step A: Register the merchant
This is typically done once during merchant sign up.
This creates the merchant record that will later be linked to SDK authentication and payment processing.
Step B: Generate a login token
This step happens every time the SDK initializes.
Your mobile app should call your own backend login endpoint. Your backend then requests a temporary login token from Tapaya and forwards it back to the device.
This ensures your Server Secret Token always remains securely on the server.
Response
Return this token to the mobile app and immediately use it to authenticate the SDK.
The token:
- is temporary
- is tied to the merchant identified by merchantToken
- should be fetched fresh during every SDK initialization
- should never be stored long term on the device
Security notes
Your Server Secret Token grants full access to your Tapaya platform account.
For security reasons:
- never embed it inside the mobile app
- never expose it in client side code
- never commit it to source control
- store it securely as an environment variable on your backend
- rotate it immediately if it is ever compromised
It is also critical to generate login tokens using the correct merchantToken, since that determines which merchant account and funds the SDK can access.
4. Initialize the SDK
5. Start a card payment
The full payment flow came down to three core functions:
- initialize
- authenticate
- startCardPayment
Merchant onboarding and KYB
Accepting payments is only part of a real POS workflow.
Merchants also need onboarding and KYB verification before they can process transactions.
The SDK includes a built in onboarding flow:
Processing payments
Once onboarding is complete, startCardPayment() opens the native tap to pay interface.
Amounts use the smallest currency unit:
15000 = 150.00 USD
What Tapaya handles behind the scenes
Although the integration surface is intentionally small, the SDK abstracts a large amount of complexity, including:
- EMV kernel and NFC communication
- Apple Tap to Pay entitlements
- Acquirer connectivity
- Card network routing
- KYB onboarding workflows
- Payment compliance infrastructure
This dramatically reduces the time required to move from prototype to production ready in-person payments.
Getting Started
To build a working integration:
- Create a sandbox account at Tapaya Sandbox Platform
- Install the SDK
- Add the config plugin to app.json
- Run:
- Implement:
- initialize
- authenticate
- startCardPayment
- Run the app on a physical device
Device Requirements
Android
- Android 11+
- NFC support
- Hardware keystore enabled
- Non-rooted device
iPhone
- iPhone XS or newer
- iOS 18+
- Non-jailbroken
What we’re building next
With payments fully integrated, we are now focusing on:
- Bluetooth thermal printer support
- Offline transaction queuing using Expo SQLite
- Expanded merchant tooling
- Additional POS workflows
Because the payment infrastructure is already in place, we can now focus on improving the broader merchant experience rather than rebuilding payment rails.
Final thoughts on building a POS with Expo
Historically, POS teams often had to choose between:
- Fast cross platform development
- Or production grade in-person payments
Expo simplified the application layer and Tapaya simplified the payment infrastructure layer.
In the end, the integration came down to three function calls, not as a simplified demo, but as the actual implementation powering the app.
That simplicity also makes the SDK particularly effective for AI assisted development workflows.
And in payments infrastructure, smaller APIs are usually better.