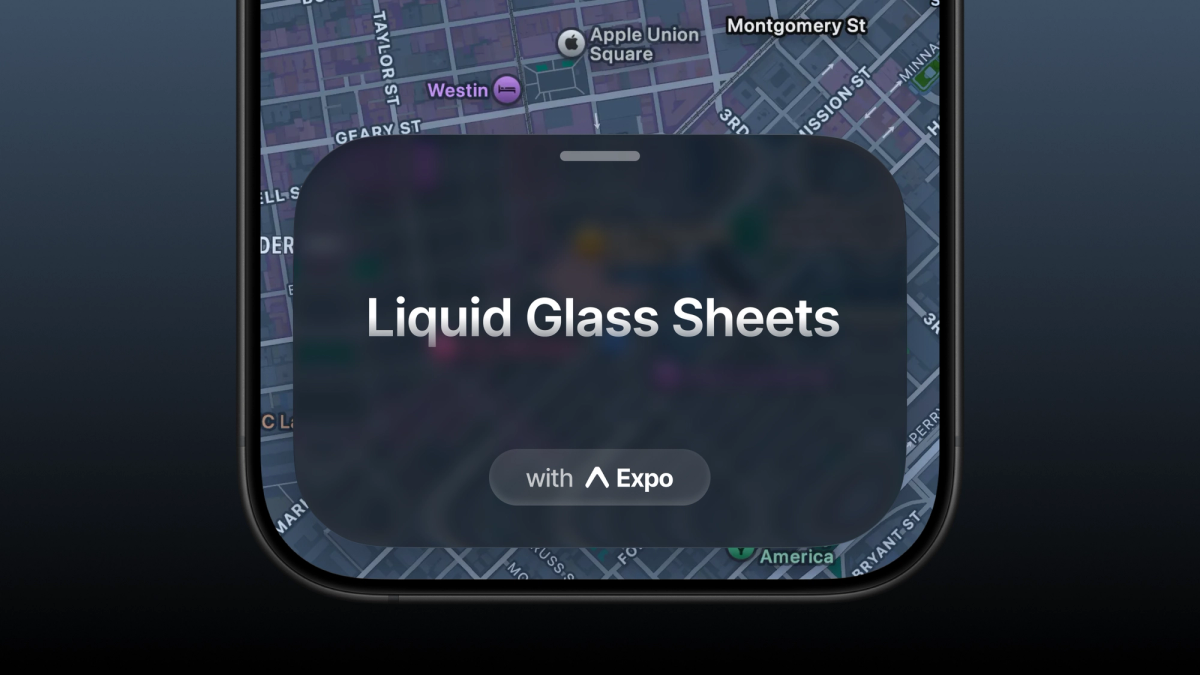
If you’ve noticed in iOS 26, the bottom sheet’s behavior has changed. It has the liquid glass obviously, but also a new transition.
At the lowest detent, the sheet is in its floating state. It sits above the screen with a visible gap and fully rounded corners. When you drag it up to the middle detent, it’s still floating, just closer to the edges, so the gap tightens and the corner radius adjusts. When you drag it to the top detent, it transitions and the gap disappears. It stops acting like a floating card and starts behaving like the regular full sheet we’re all familiar with.
If you’ve used the latest Apple Maps, this is exactly that interaction:
So I tried different approaches. And I found there are some ways to achieve it in Expo.
1. expo-swift-ui BottomSheet
It’s a native sheet, so it has liquid glass support, and if you configure the sheet detents, you'll get the same behavior. But I wouldn’t ship it to production yet because it’s still in beta. Great for experimenting, not ideal for final builds.
Here it’s just using isOpened state to control the sheet. The detents define how far it can slide, from 0 to 1 (full height). The drag indicator is just the little handle or grabber at the top.
2. Expo Router formSheet Presentation
I realized that Evan Bacon posted about achieving the same thing with Expo Router on 𝕏 (Twitter), so I tried that and yeah, it worked as expected. This gives you the same sheet behavior.
The sheetGrabberVisible is just the drag indicator at the top. For the liquid glass look, you have to set contentStyle backgroundColor to transparent, otherwise the liquid glass won’t show through. The detents go from 0 to 1 the same as before. I set gestureEnabled: false because I didn’t want the user to dismiss it by dragging down. sheetInitialDetentIndex: 0 sets the starting detent to 0.1. That’s what gives you the Apple Maps starting state where the sheet is detached and fully rounded.
This is perfect for almost all normal use cases if you just need a sheet. But if your work requires more control and handling, then it won’t fit well, because it’s hard to control details like custom footers or syncing animations with sheet movement.
So, on to the other option.
3. TrueSheet by Jovanni Lo (@lodev09)
This one is very good if you want a lot of control over your sheet. It’s native, supports sheet background blur (now, after iOS 26, it uses liquid glass instead of the blur effect), supports detents, footers, and gives you animation values to sync UI with sheet transitions.
Here the sheet is controlled through a ref, same as Gorhom’s Sheet. sizes controls the detents. You can use numbers, percentages, or preset strings like auto, medium, and large. You can mix them however you want. Auto sizing wasn’t working perfectly for me, so set your lowest height explicitly like I did with 75. And use blurTint="default" for the liquid glass look.
The readme isn’t updated yet, but the effect works perfectly because it calls native APIs.
That's basically the real approach to getting the Liquid Glass sheet into your Expo app. Keep your detents intentional, and let the OS do the vibe.
If you're into these React Native animations and tricks, I keep posting them on my 𝕏 @iamarunabh.
I also broke down the Liquid Glass sheet over there. Check it out: